
這個 Skype Bot 主要可使用 API 發送訊息到指定群組中,用於自動化通知流程
本文主要參照:Cash Wu Geek – 不寫一行程式完成簡單的發送訊息 Skype Bot 三篇文章,做了點更新
由於時空背景不同,少部份流程上有些許差異踩到坑,故做下紀錄。Azure、make 就自行註冊囉
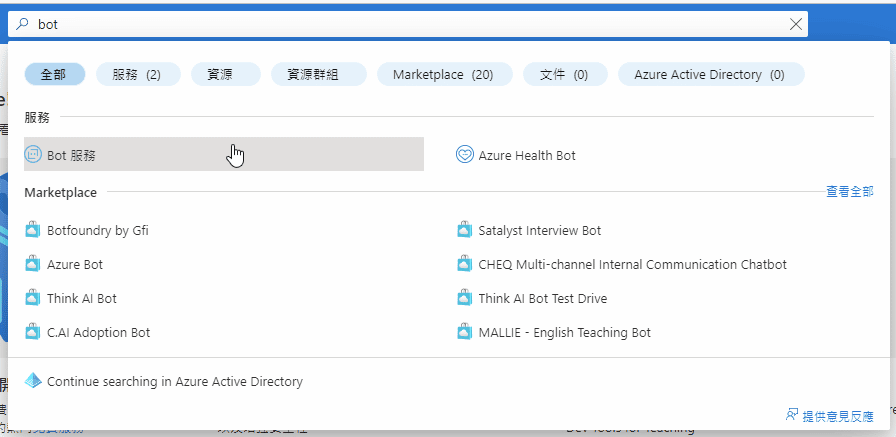
馬上開始:Azure 上先搜尋 bot ,選擇 Bot 服務
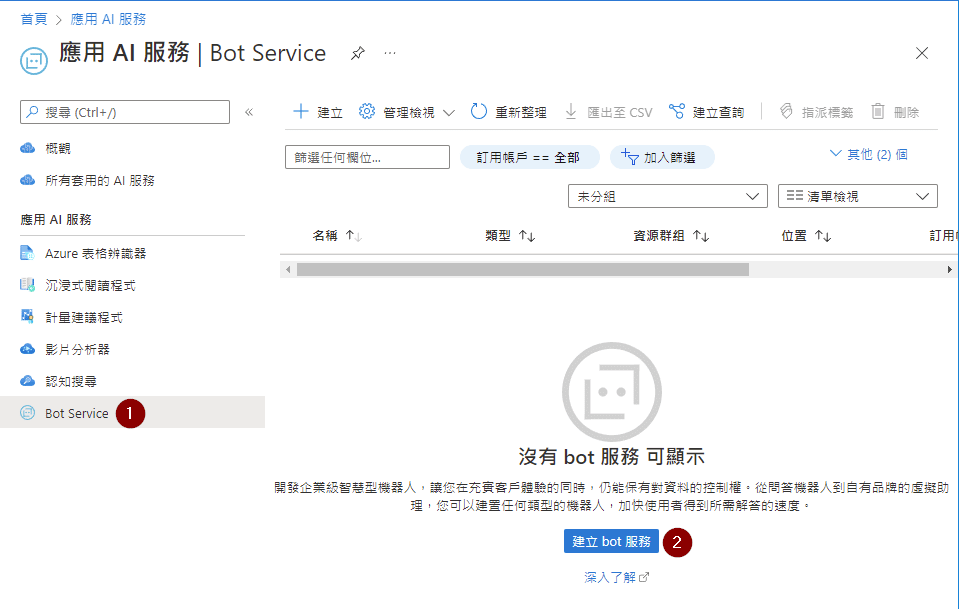
選擇 Bot Service,再點 建立 bot 服務
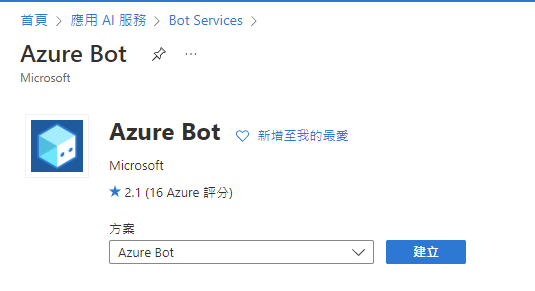
找到 Azure Bot

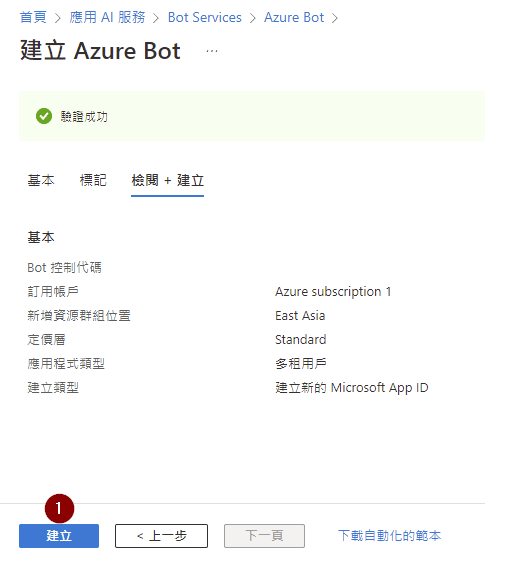
方案 Azure Bot 建立
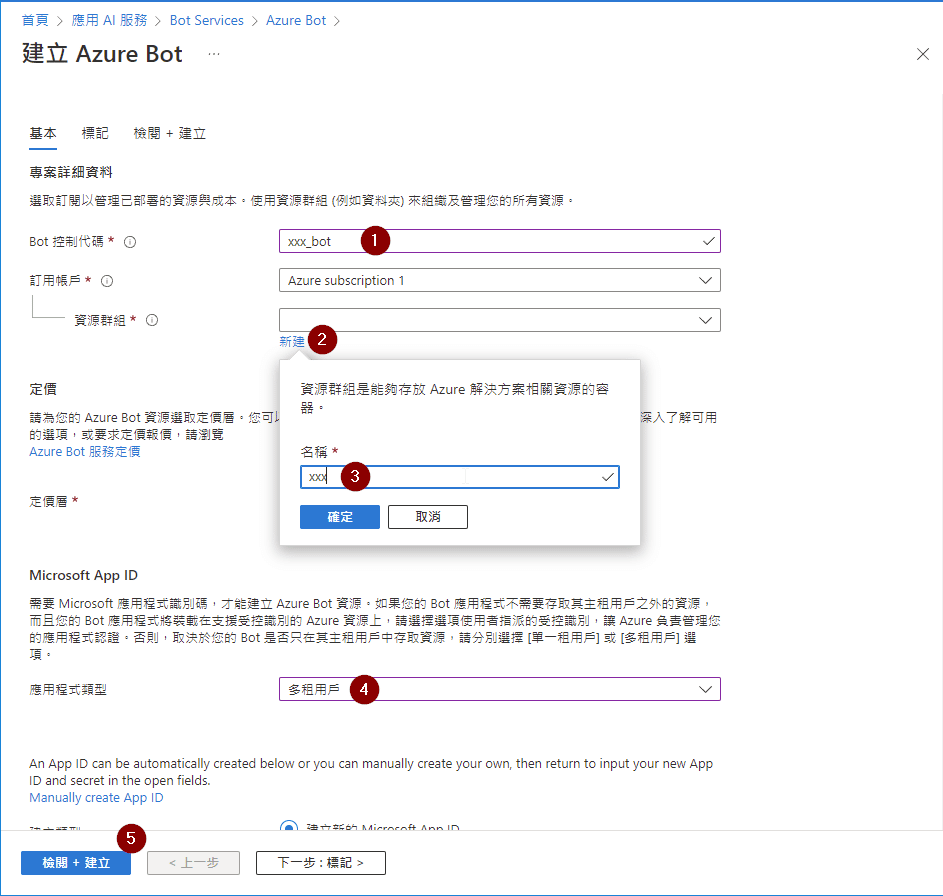
資源群組:新建,隨意命名
資源群組位置:隨意
Microsoft App ID:選多租用戶(單租用戶沒試過,可以試試)
建立
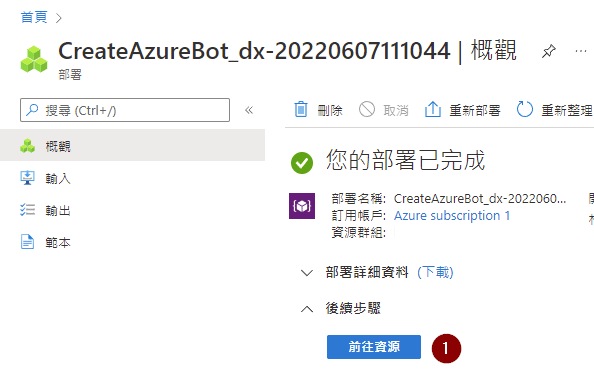
前往資源
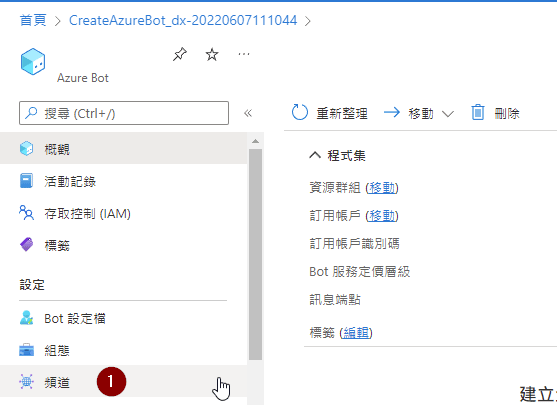
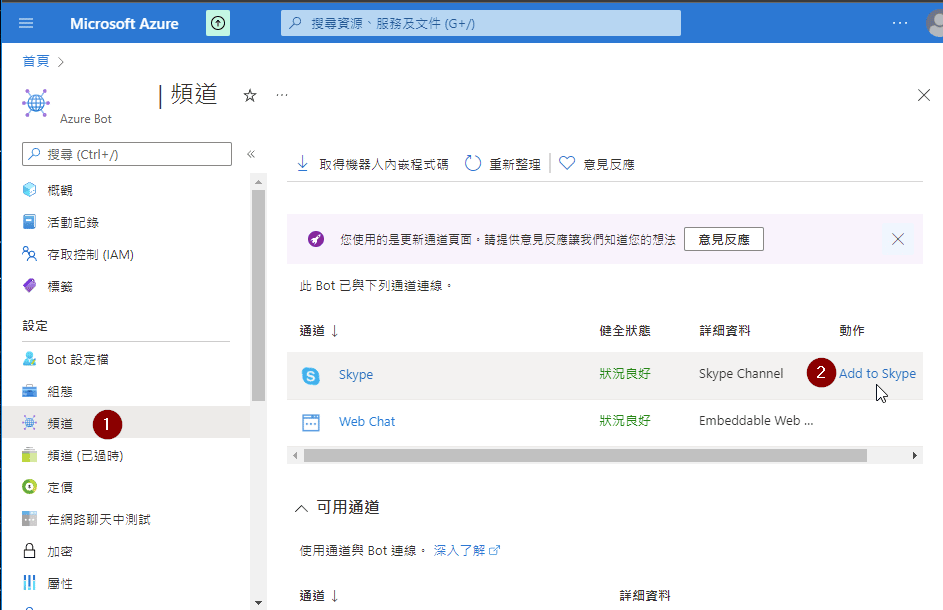
點左邊頻道
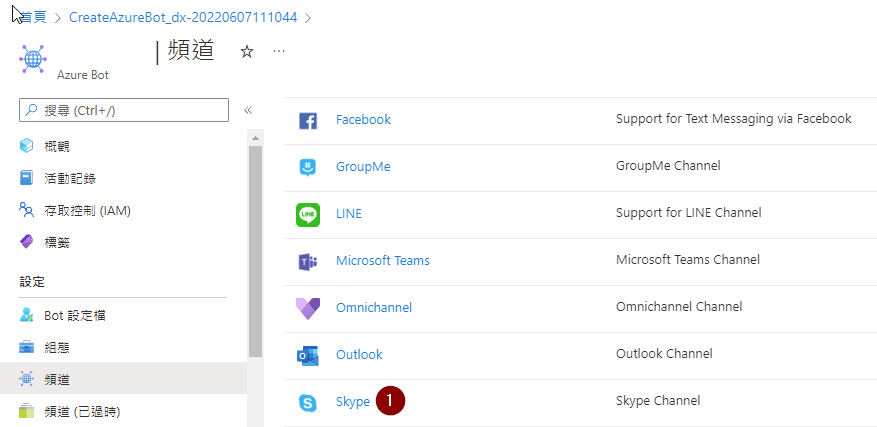
拉到下面選擇 Skype
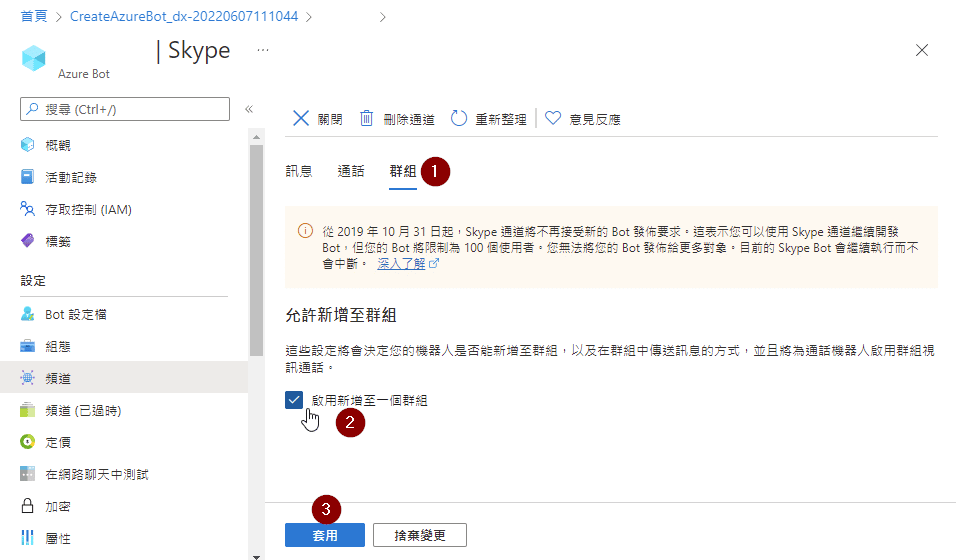
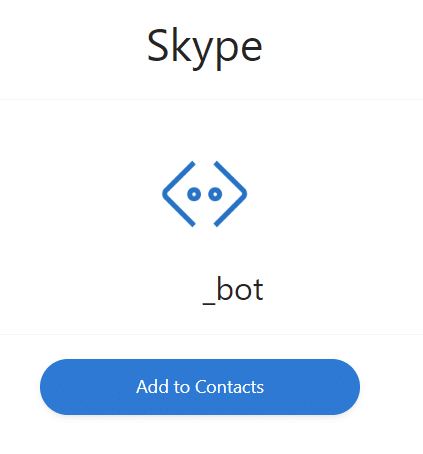
繼續選擇頻道,Add to Skype
彈出新視窗,點選 Add to Contacts 後,會彈出 Skype 軟體,加入就對了
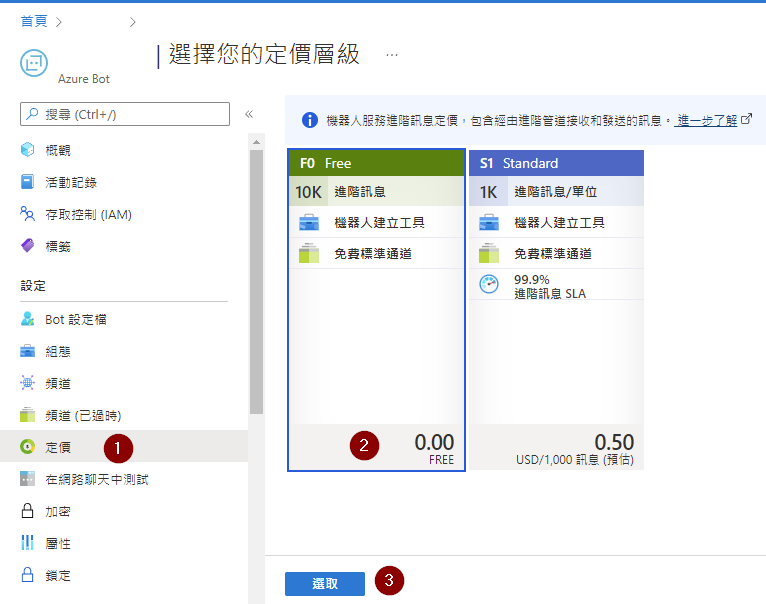
定價選擇 Free 方案
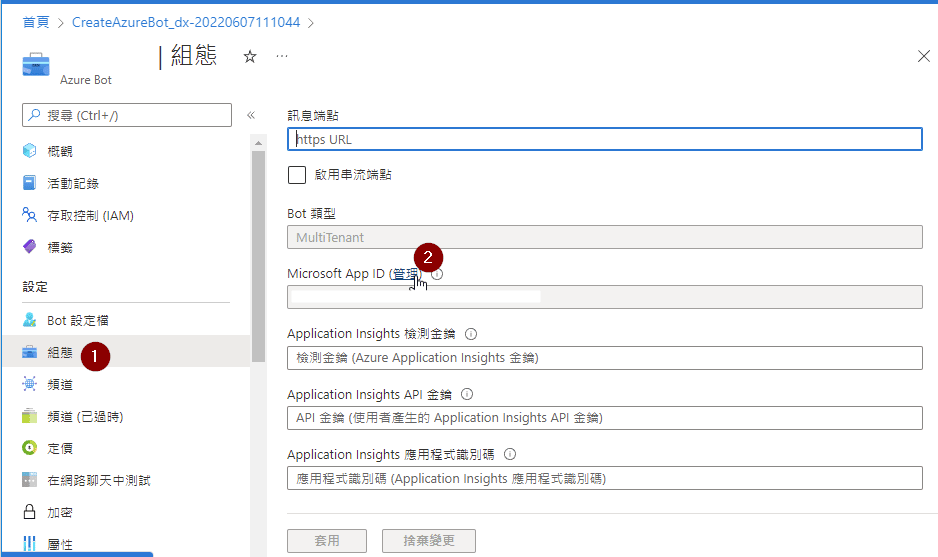
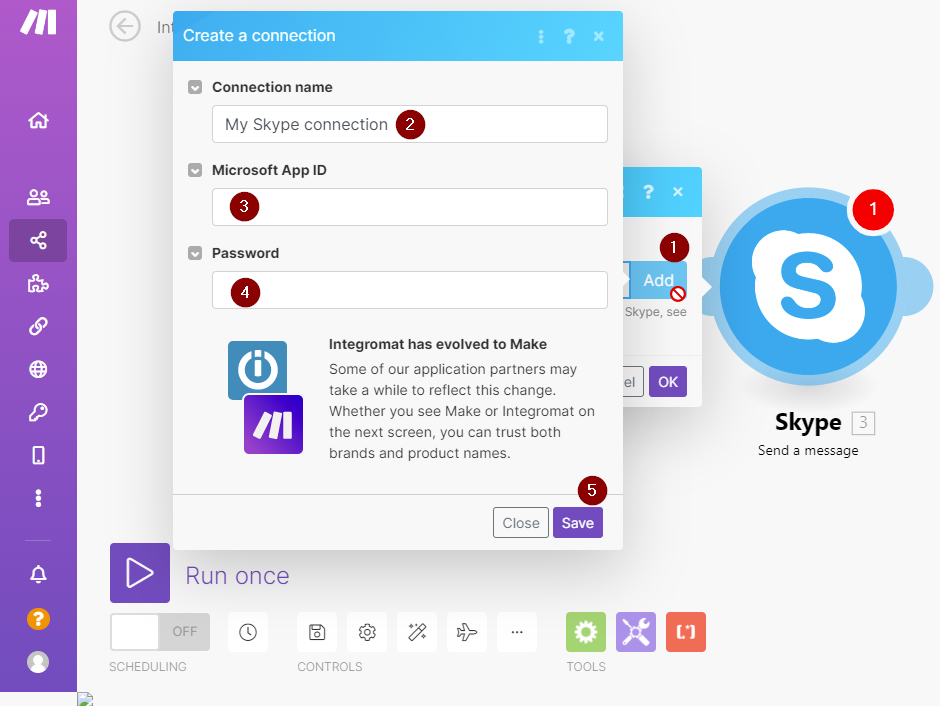
選擇組態,點 Microsoft App ID 旁的管理,這裡的 Microsoft App ID 記下稍後會用到
點憑證及秘密,新增用戶端密碼,到時會跟上面的 Microsoft App ID 搭配輸入在 make.com 的服務上
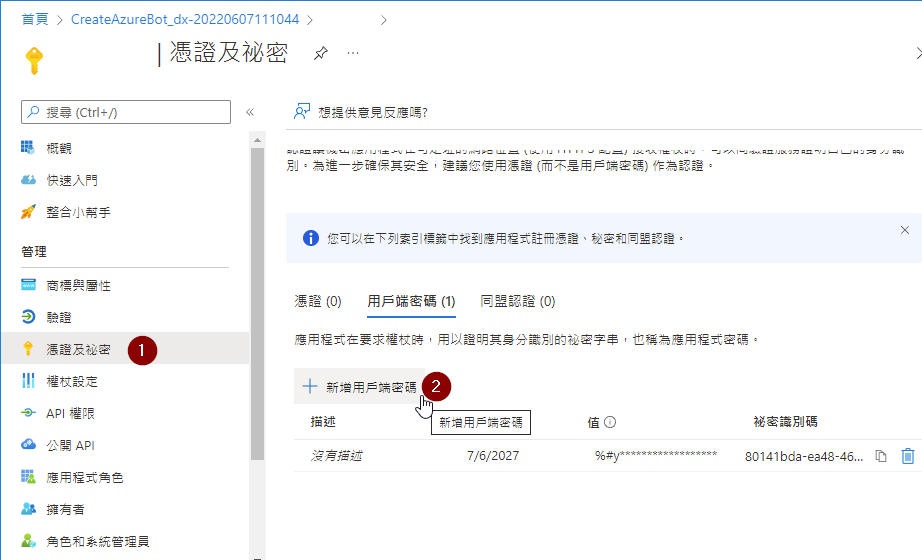
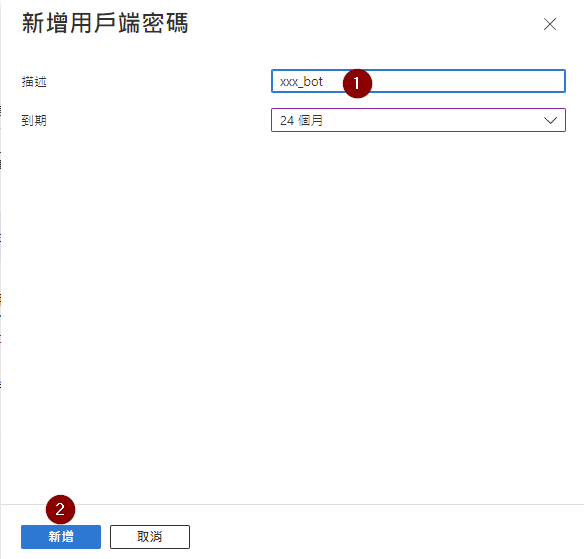
描述隨意輸入,到期日最長24個月
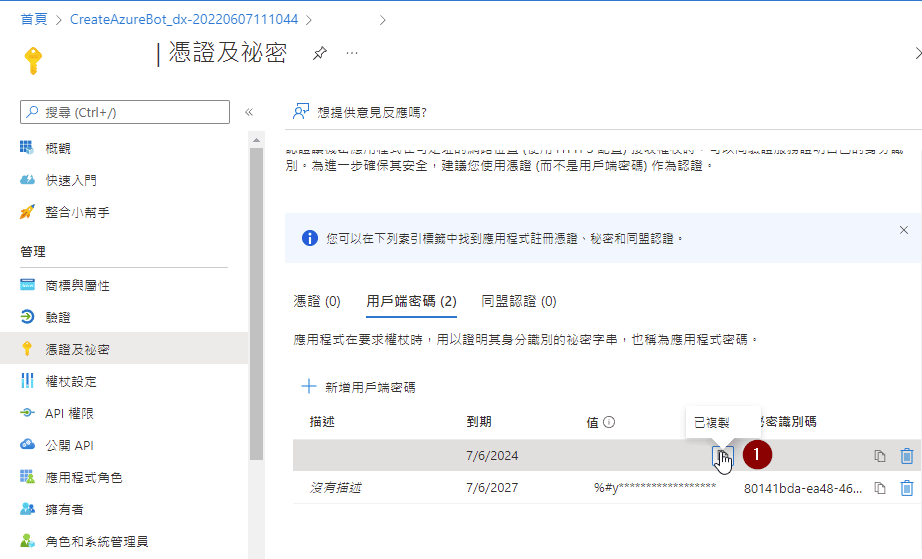
把取得的密碼值複製下來
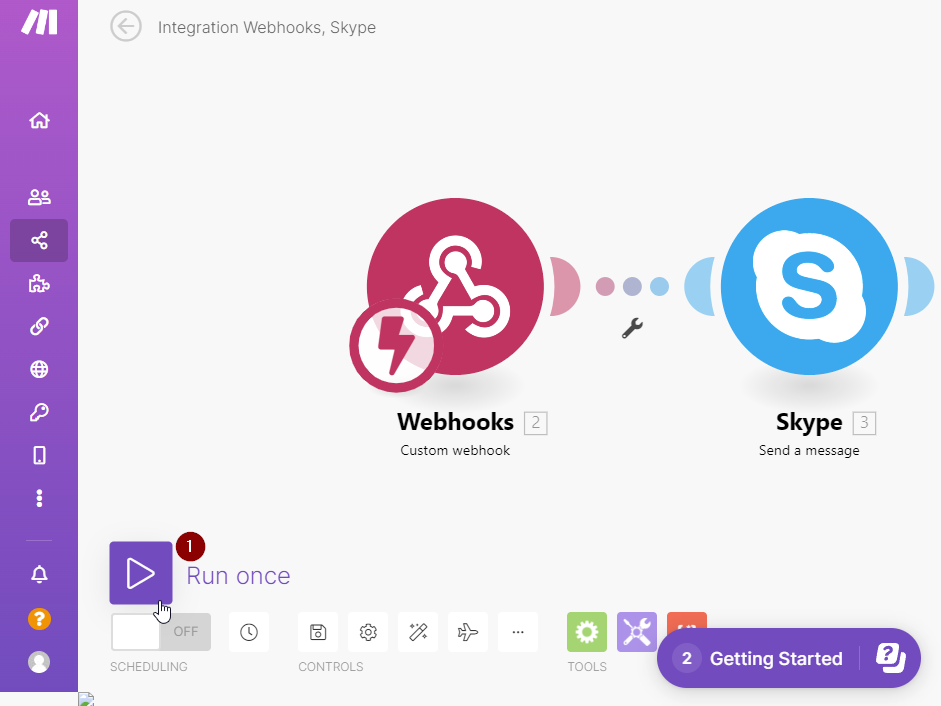
接下來開通中介 API 及將訊息轉發到 Skype
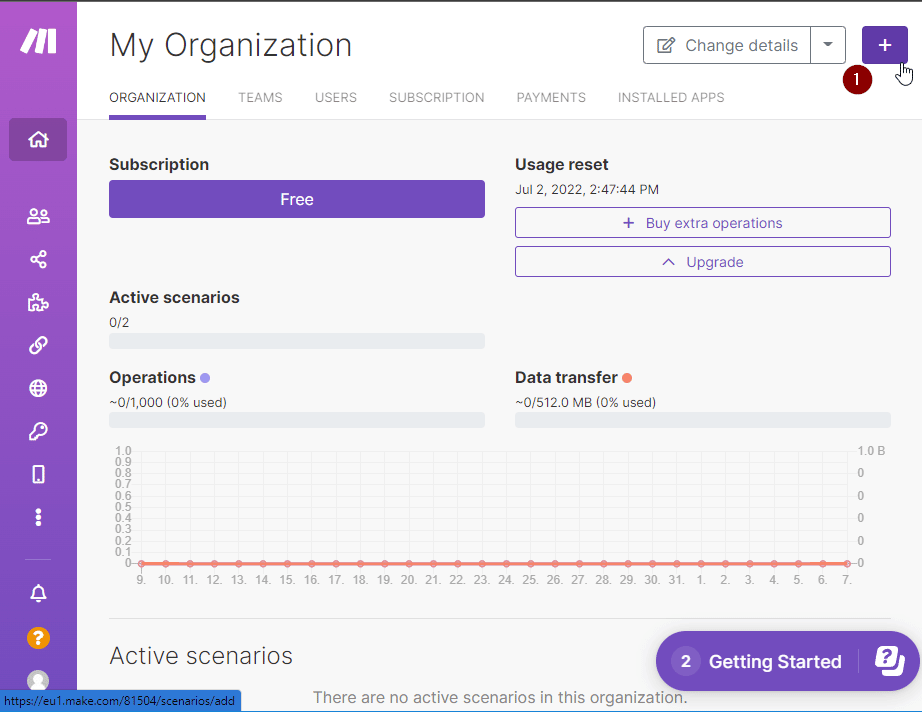
打開 make.com 並登入
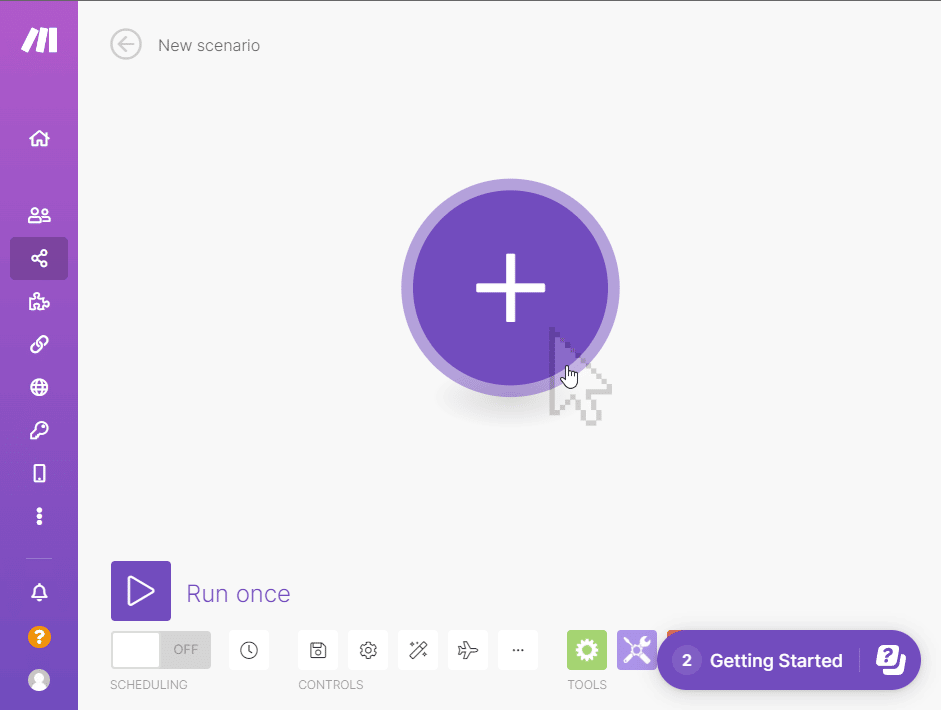
新增一個 scenario
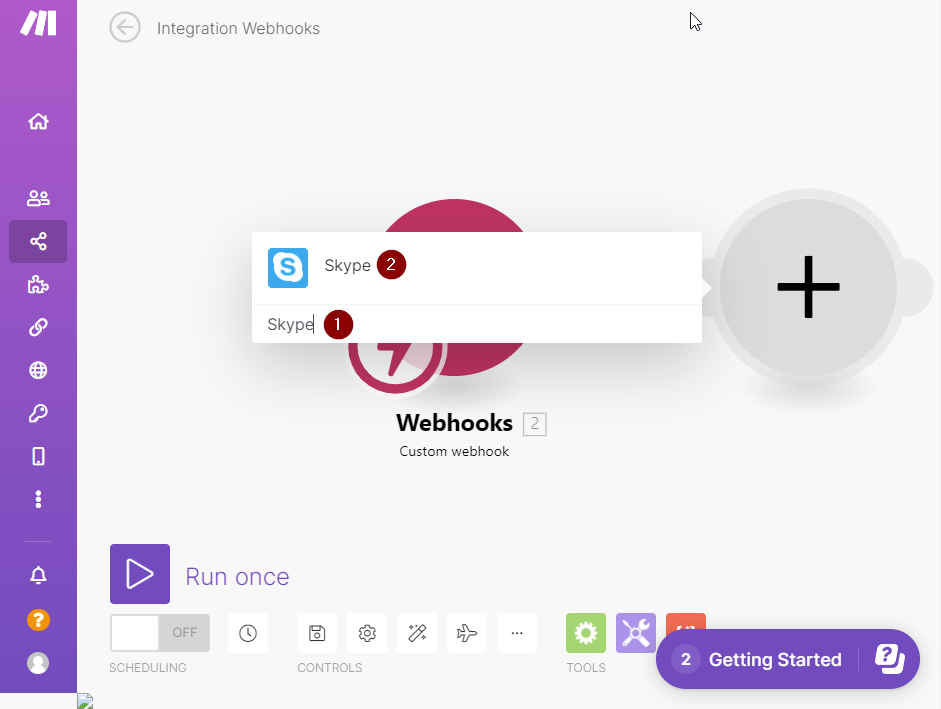
搜尋 Webhooks,新增 Webhooks
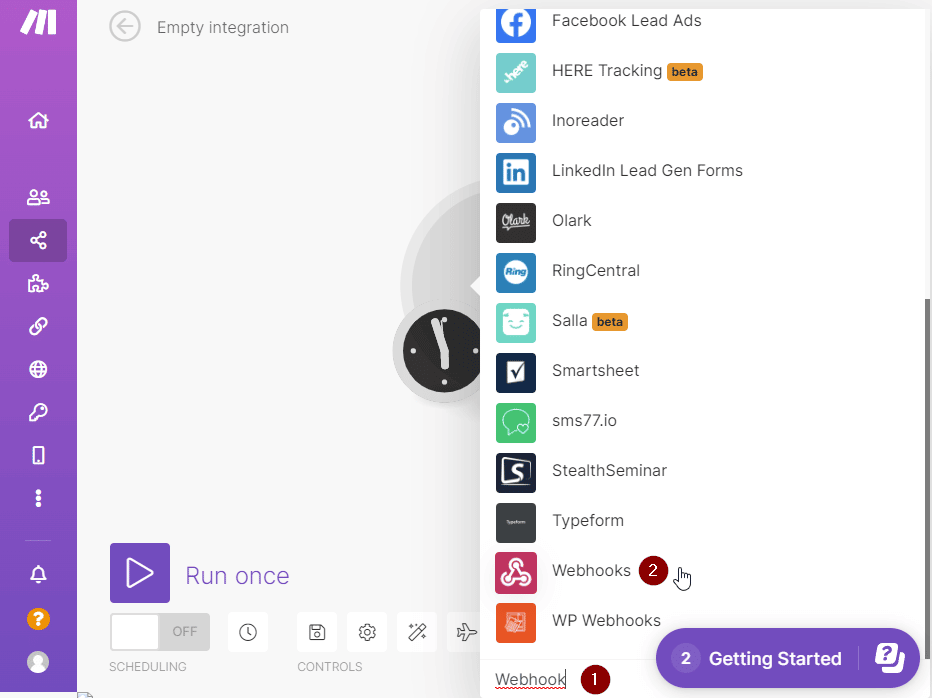
選 Custom webhook (Triggers when webhook receives data)

Add 一個新的 Webhook
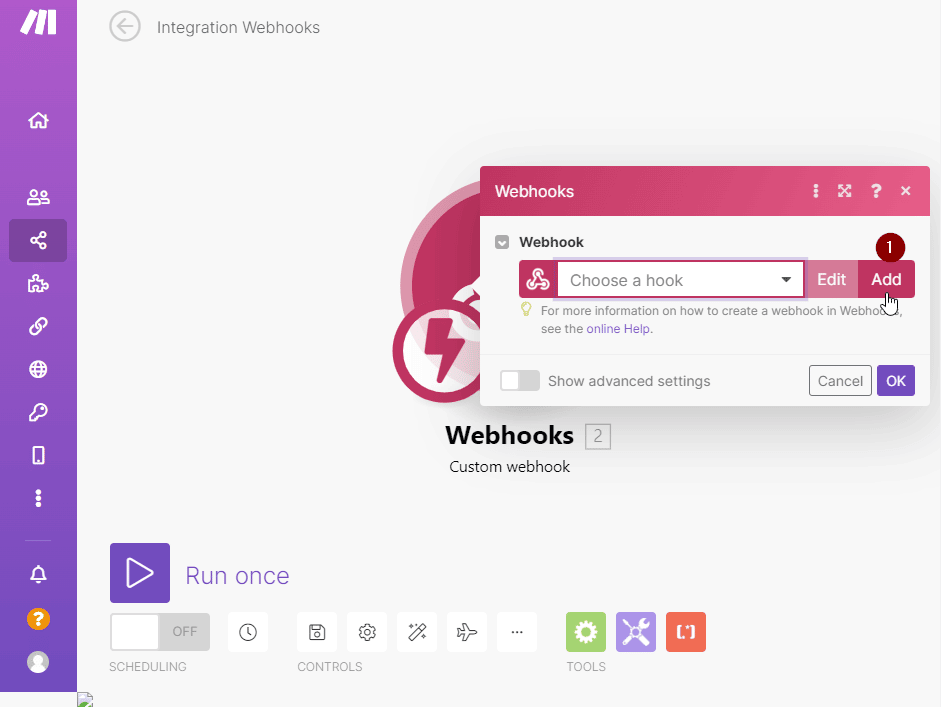
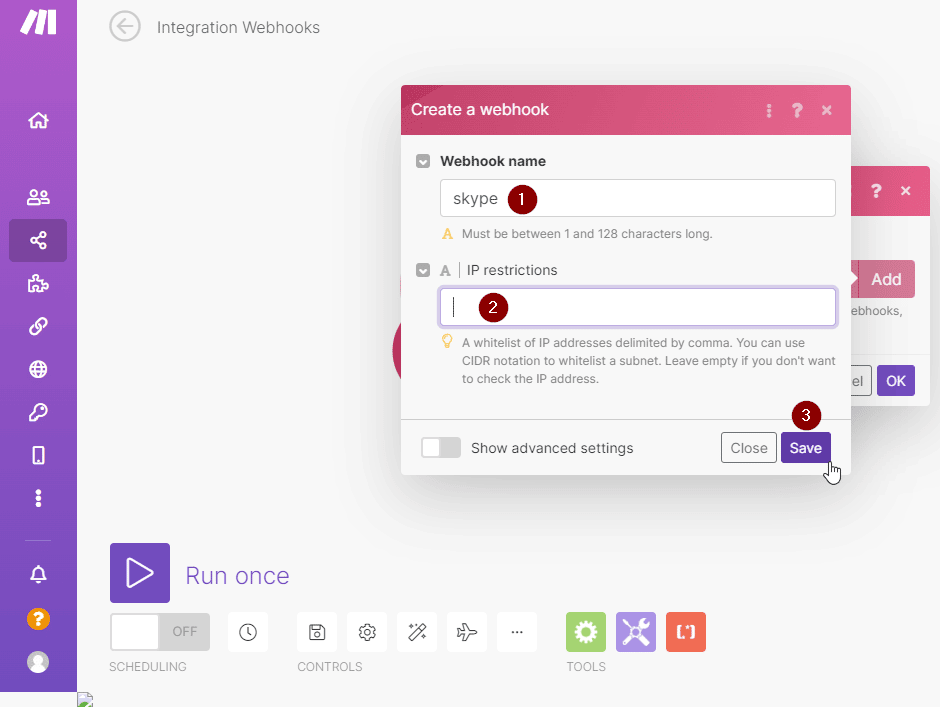
隨意輸入 Webhook Name 名稱,設定 IP 白名單,再按 Save 儲存
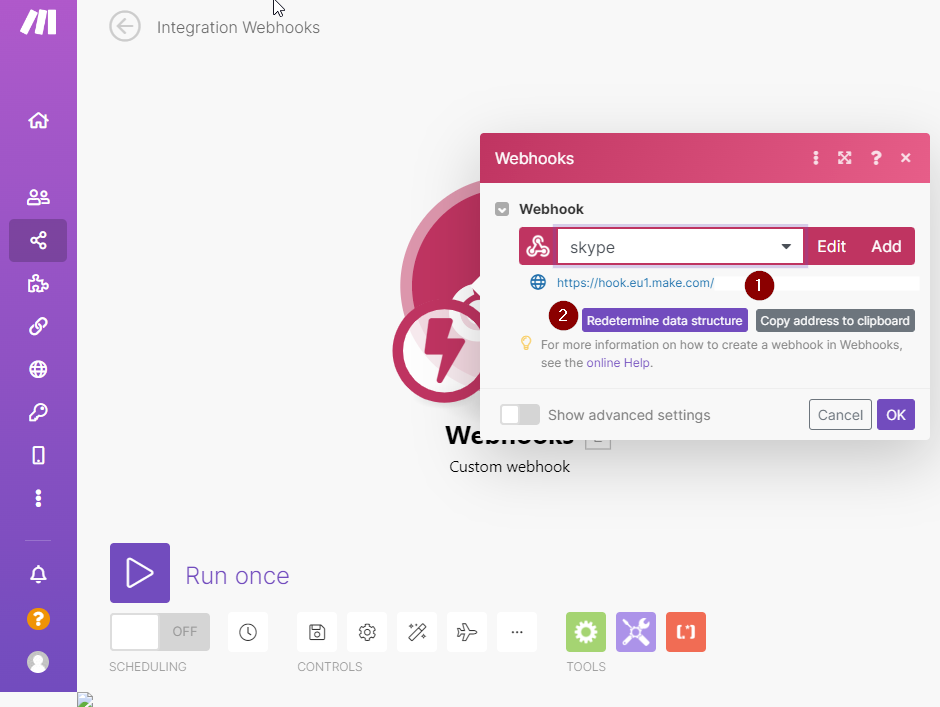
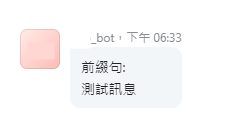
直接複製下面指令,換成自己的網址。API 打過去會收到 Accepted,顯示 Successfuly determined
$ curl --location --request POST 'https://hook.us1.make.com/xxxxxxx' --header 'Content-Type: application/json' --data-raw "{\"Text\": \"\n測試訊息\"}"
接著再新增一個 module
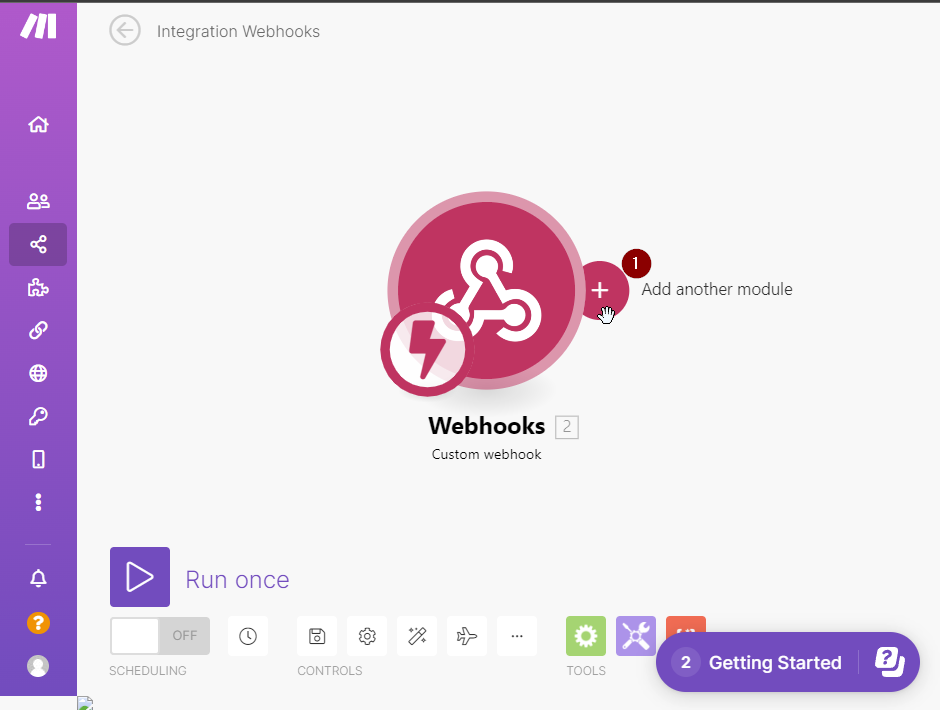
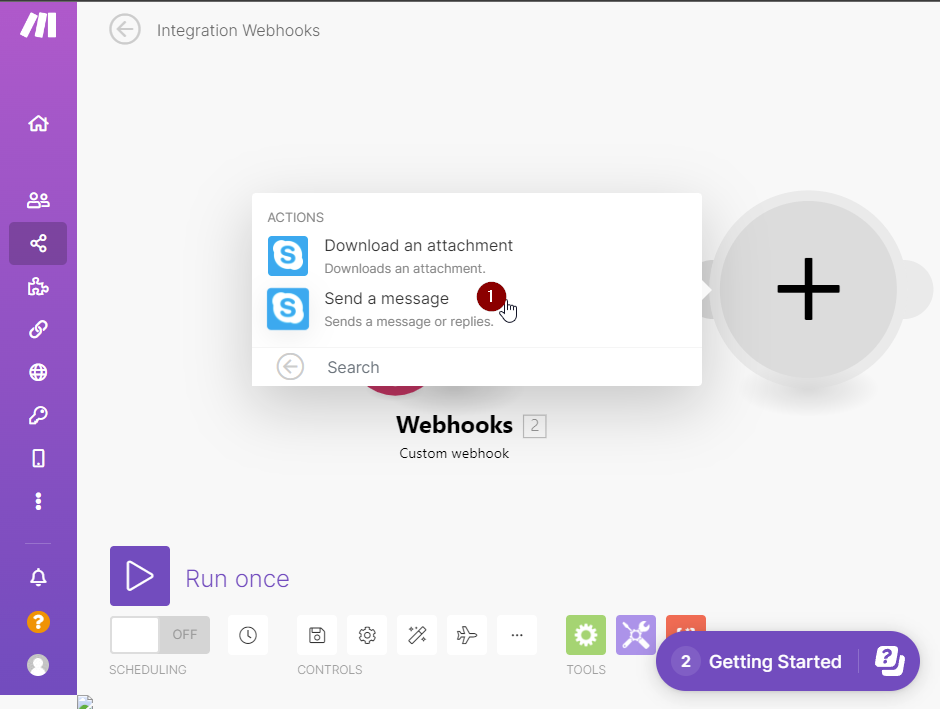
點選 Add 後 Create a connection,Connection name 隨意填,Microsoft App ID 及 Password 依上面 Azure 步驟取得的填入
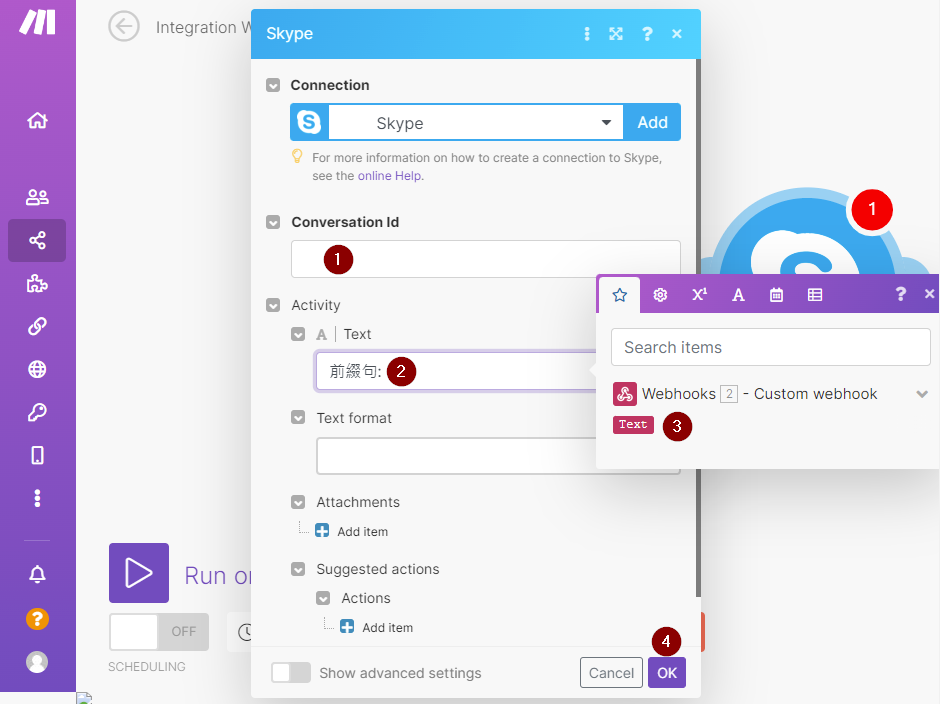
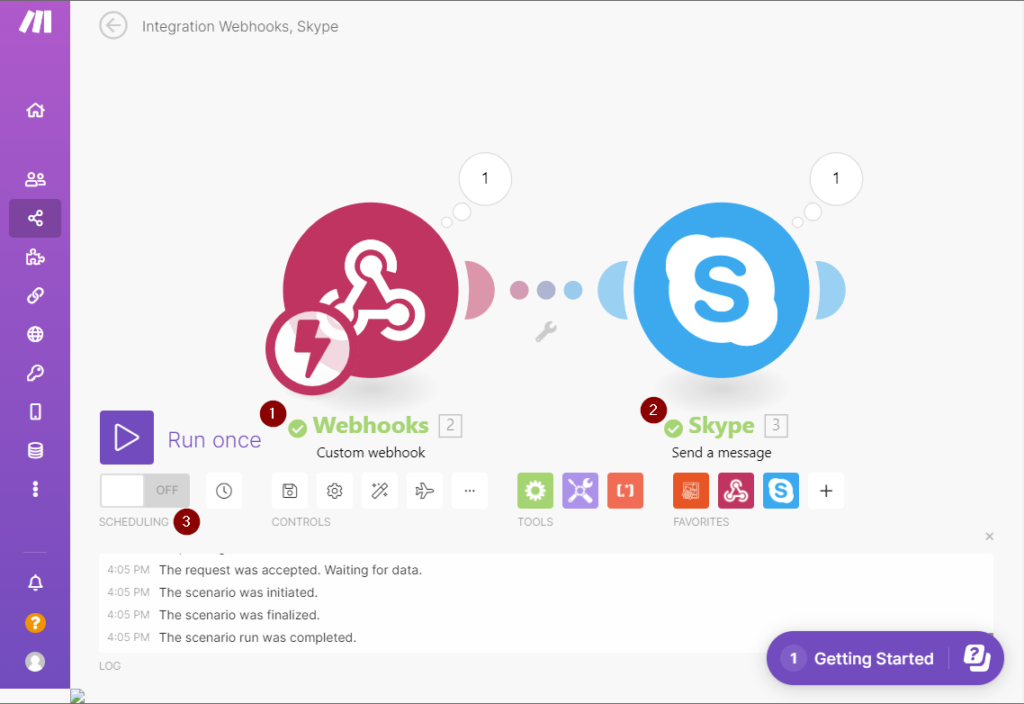
完成後 Run once 試試
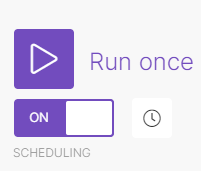
API 打下去,成功後 Skype 群組會收到訊息,且 Webhooks 及 Skype Module 會打勾,這時就可以點開關把它 On 起來了
想請問一下,Conversation id有辦法用變數或是動態的方式傳入嗎?
不好意思,可能要請你自己嘗試看看,因公司已停用 Skype 而文中提到的 Azure、Make 之前是由上級註冊提供,我也無法再進入。